cdaringe
learnings, nerdisms, bicycles
about
rad
freshawair
up'n'up
pl selector
dvd.js.org
standup
donut
cowtown
truth.lol
fish.js.org
factorio-type-kit☠
red-or-green☠
senor-salsa☠
Compact Cycling Rocker Plates
January 10, 2026
Here for CAD or models? Jump straight down to the BOM section!
Rocker plates are a niche accessory for indoor cycling trainers, allowing for a more natural riding experience by enabling lateral & fore-aft movement. A few friends and I have Zwift subscriptions for the winter (grumble grumble) and wanted to build some rocker plates to enhance our rides.
Andrew Grabbs published an excellent article & set of videos on building your own. His plates, however, are quite large! His plate profiles are 5 feet long with 32 inch width. We have access to a CNC XY Mill table that cuts a max 4'x4' profile. Andrew's design simply won't fit, even diagonally. Our design will come in right under 5' long and just under 2' wide.
Here are our objectives:
- Make awesome rocker plates
- Fit within a 4'x4' cutting area
- CNC vs manual cutting for fancy shapes and precise tolerances
- Support 2 variants: a solid base variant, and a lightweight base variant for different members of the group
- Nerd out!
On adapting the Grabb's design
The easiest course of action to get from zero to millable CAM was to simply repurpose Grabb's CAD. Grabb's posted his .dxf files for his plates, which I attempted to adapt into OnShape.
TLDR, OnShape's .dxf support (and .d* formats generally) is poor. You can
get it to work, but great support is behind paid extensions. My first approach
was importing his content as dumb geo, then trying to simplify & adapt the
individual point geo it to our needs. Because the basic geo has no parametric
features, it was tedious to modify.
There were enough differences between features that I ultimately decided to re-create the profiles from scratch in OnShape.
Designing from scratch
Getting the basic dimensions we can work with is step one. We know that in a 4x4 design, we will need every mm of space. Bikes are long, trainers are wide, and a 4'x4' sheet is neither!
Length. We have two macro factors:
- Primary: bike length. More specifically, axles center-to-center length. Your front tire needs to rest on the plate, with at least some margin for compression and factor of safety.
- Secondary: linear rail/rod length. We can dream big and pick a free length here, but rails & rod are independently expensive, so picking something with (giant airquoting here) a "common" length is ideal.
Width. Trainer width is the main factor here. We are targeting Wahoo Kickr Core trainers, v1 & v2.
Grabb's design already specs a 1400mm rod. This was not too long--about 4.5 feet. Pretty close to our varying C-C axle lengths between all of our bicycles. The bottom plate doesn't care about C-C length at all technically (just the top plate), but aesthetically we want some parity.
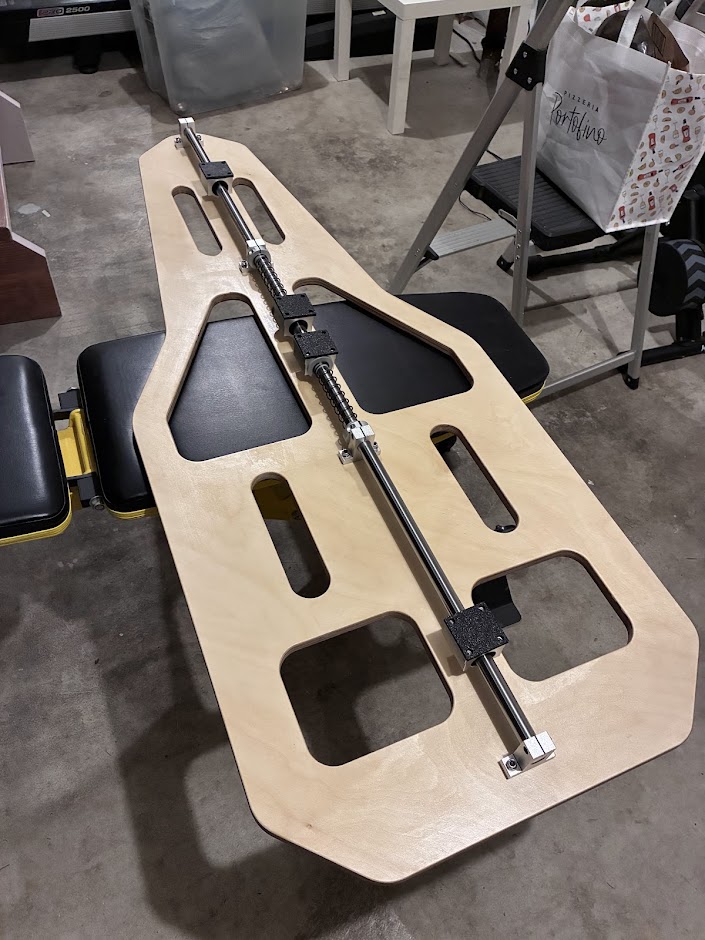
So, let's rough it in. Like Grabb's, we'll use 4 support clamps total, spaced equidistantly from each other. Also, you can see we have our channel profile for the inflatable roller. You'll see more why we have inflatable rollers later if you didn't checkout Andrew's video from above.
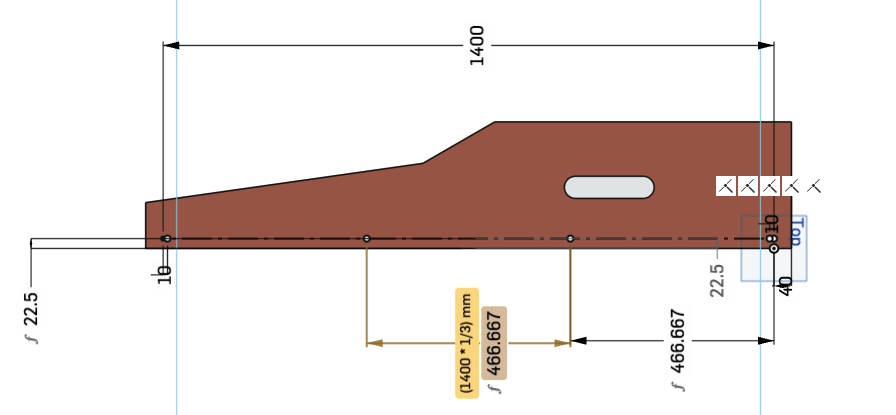
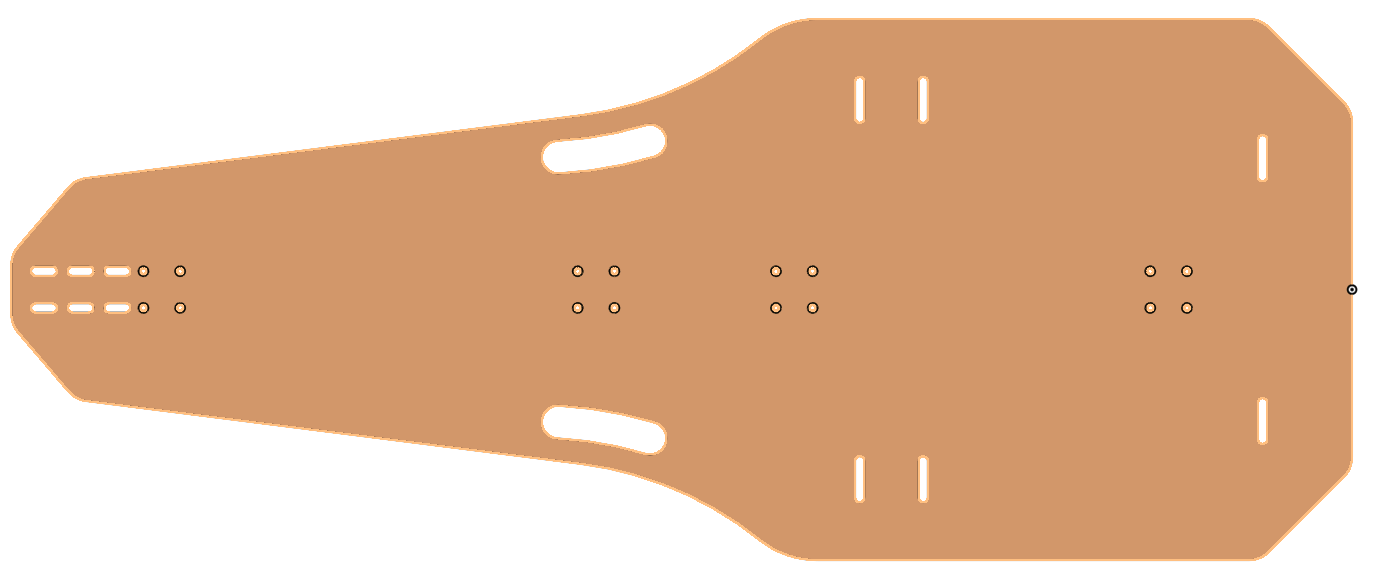
A few more holes, cutouts, some chamfers, some rounds, and a big mirror operation:
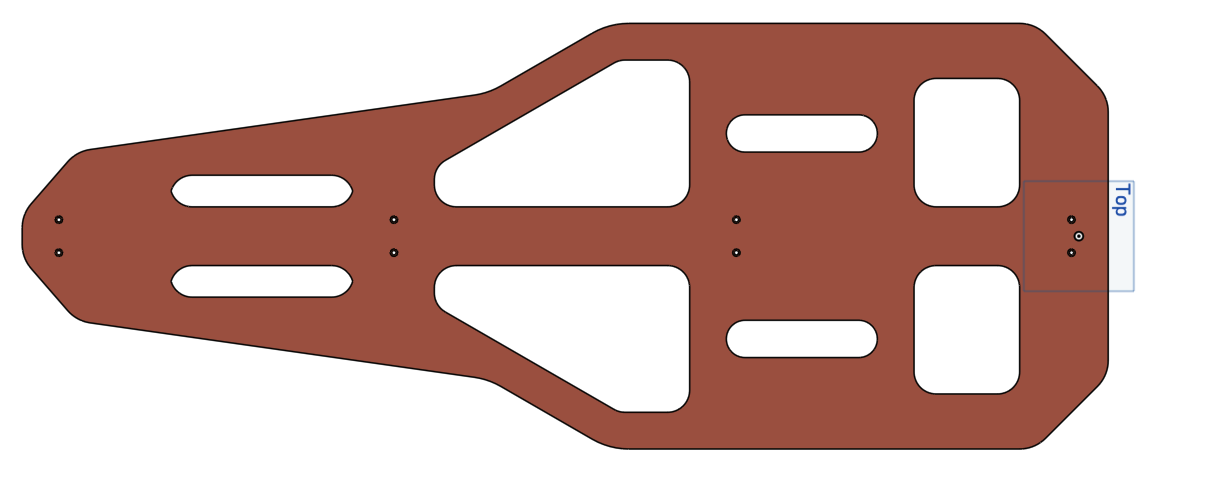
We're in business! Onto the top plate.
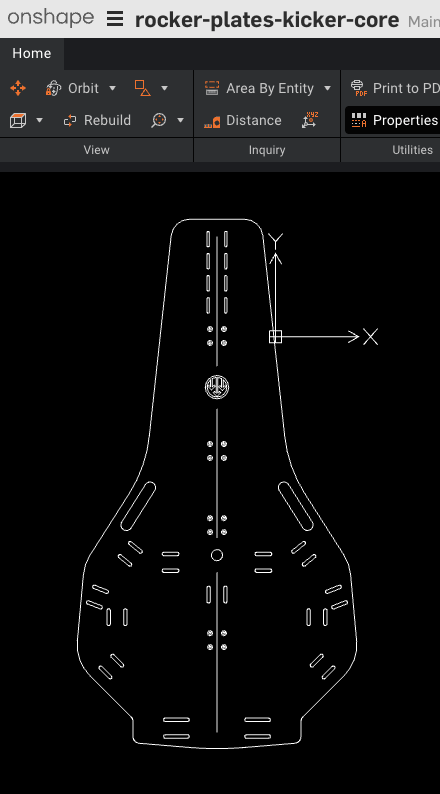
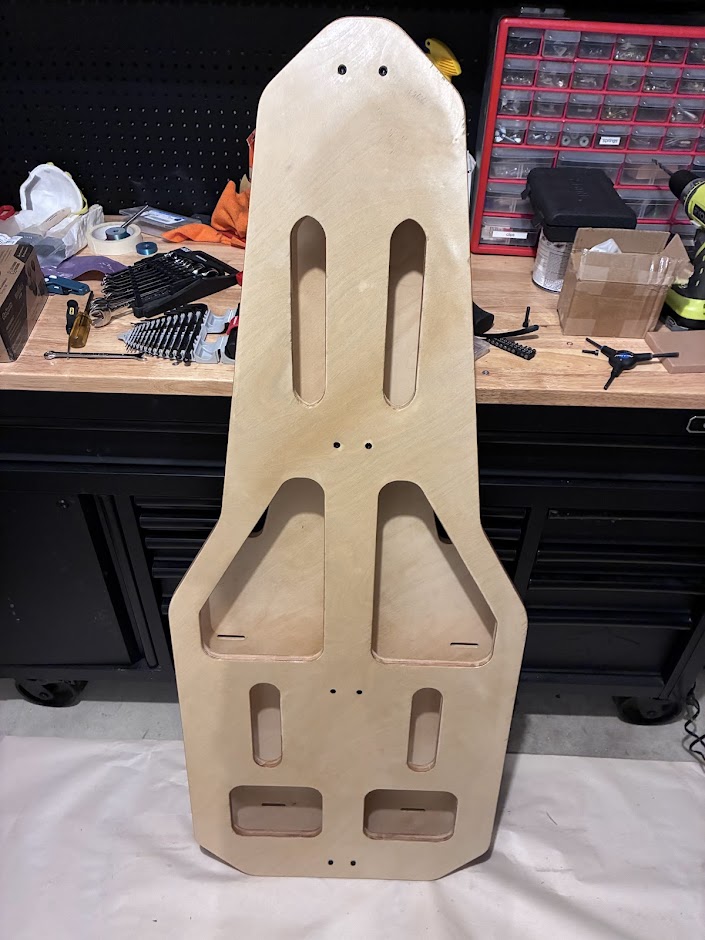
Same process, but on the top we have more interesting features to consider:
- Bearing mount positions. This is interesting because we want our neutral position to hover nicely over the bottom plate without significant offsets.
- Milled grip/handle for lifting the whole assembly.
- Tire mount straps slots.
- Trainer mount strap slots. The v1 & v2 Kickrs swap from round to squarish bars, and have varying positions & thickness. The differences were not extreme, however. The final milled slots I placed are cross-compatible for both trainers, but not precisely aligned. All of us will use a soft material for straps, so strap slots perfectly oriented about the bars is not strictly necessary.
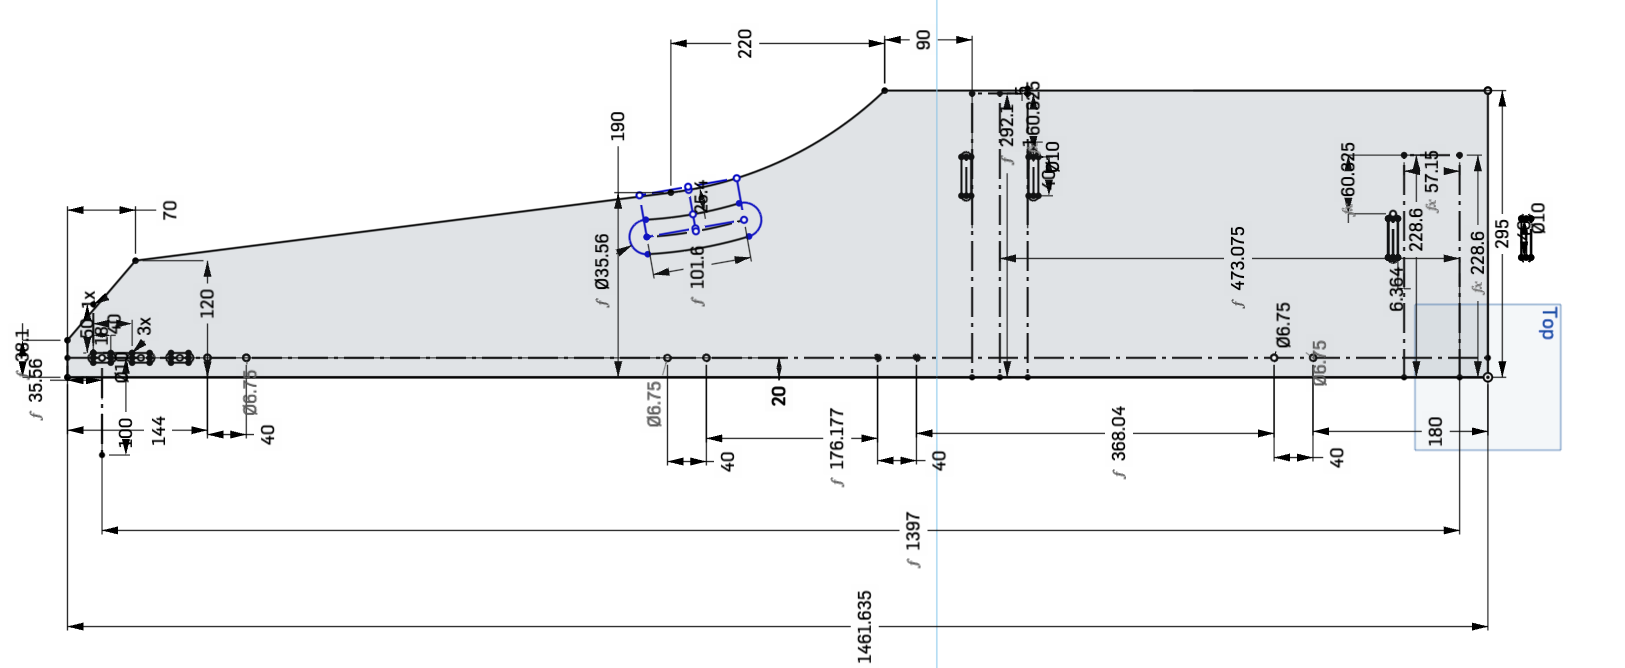
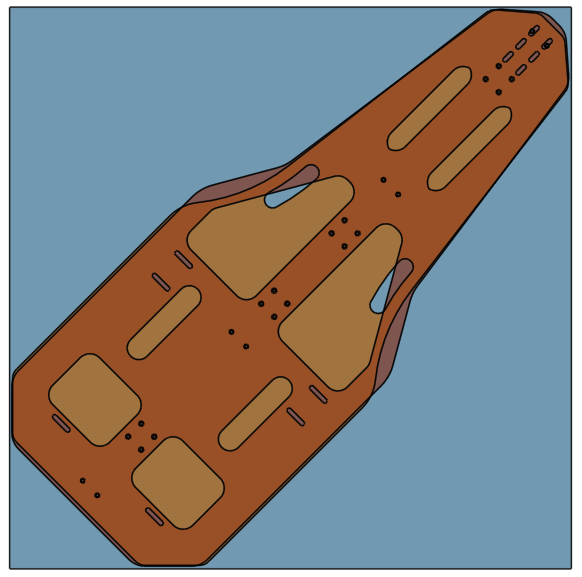
Now with all features polished up:
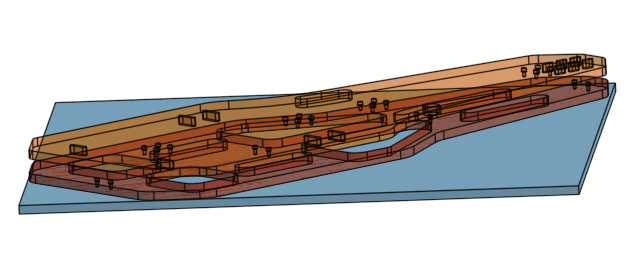
Let's see it all together now, sans hardware:
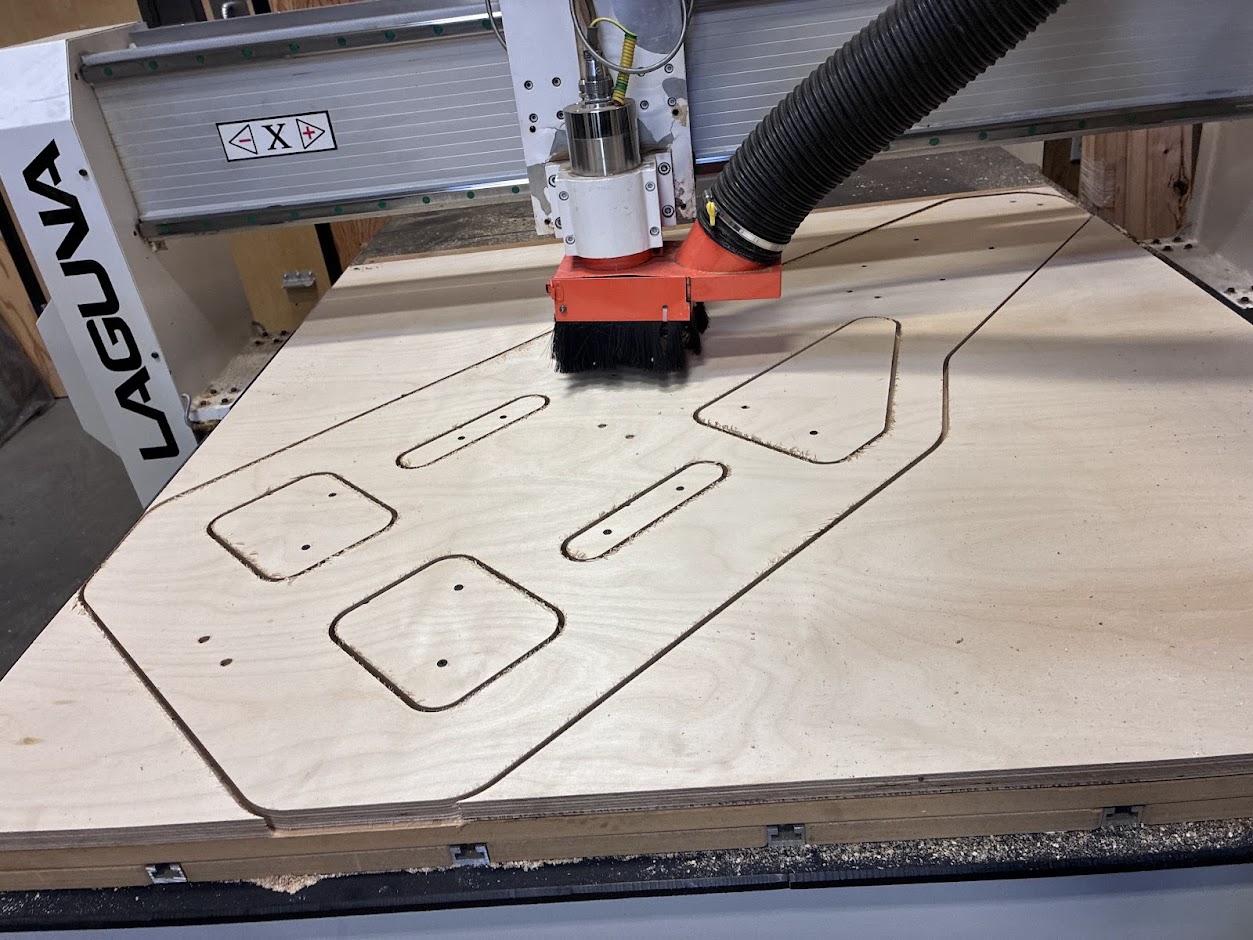
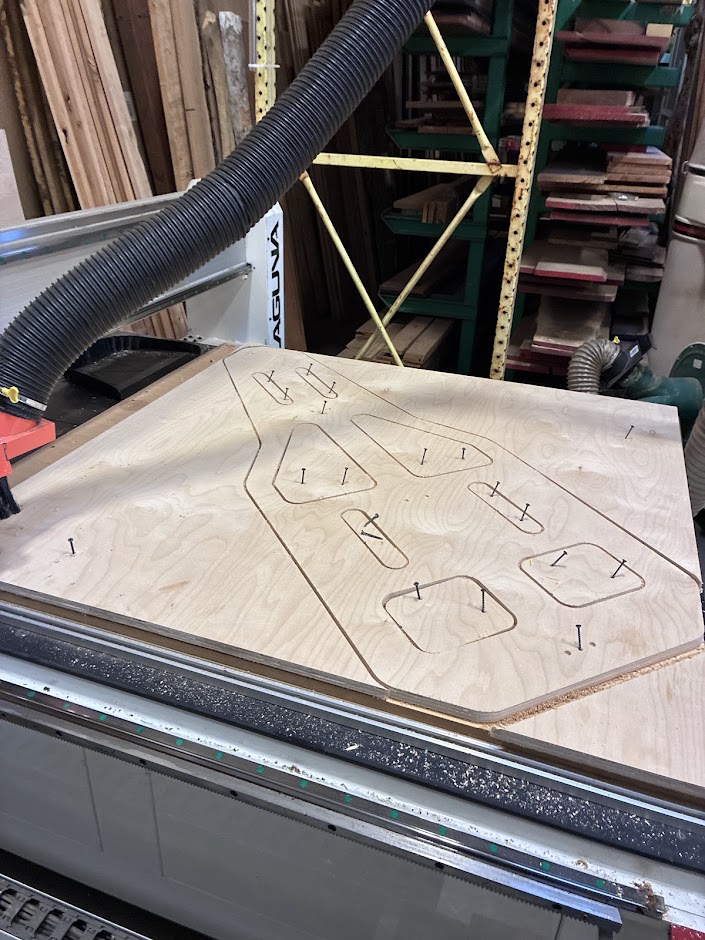
Machining
We used Fusion 360 to generate our CAM. I don't have images to show. Needless to say, CAM is an art. Our programs were fairly straightforward. We bought 4x 4'x8' sheets of 3/4" birch, one with low ply for a test run, and 3 with higher ply counts for final plates.
Our test run did uncover only one fatal flaw--I had used 45mm spacing for the bearings, not 40mm. Easy fix! Everything else was perfect.
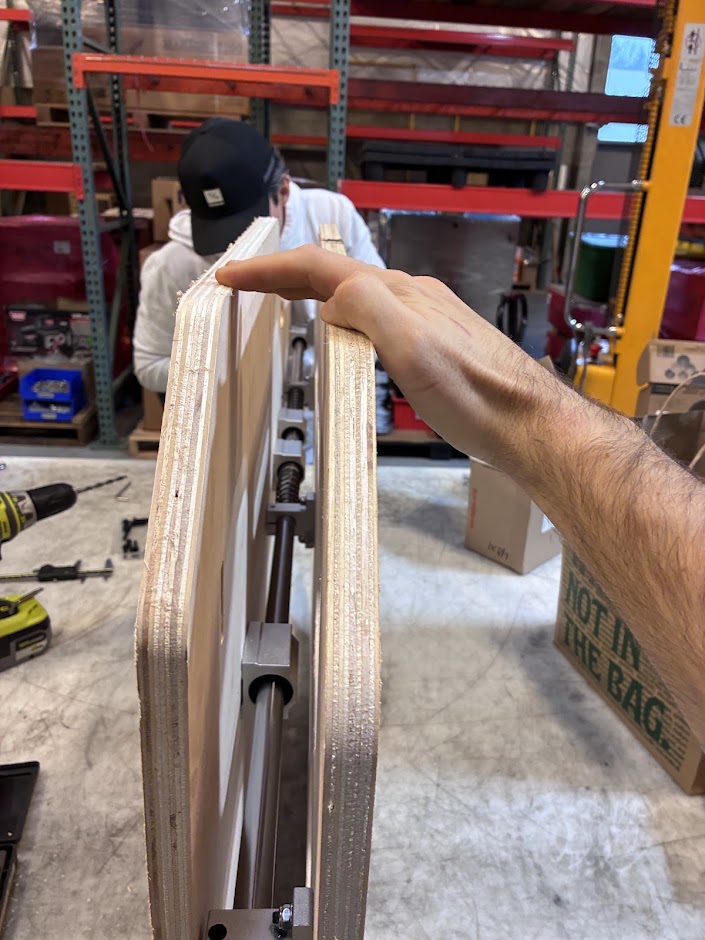
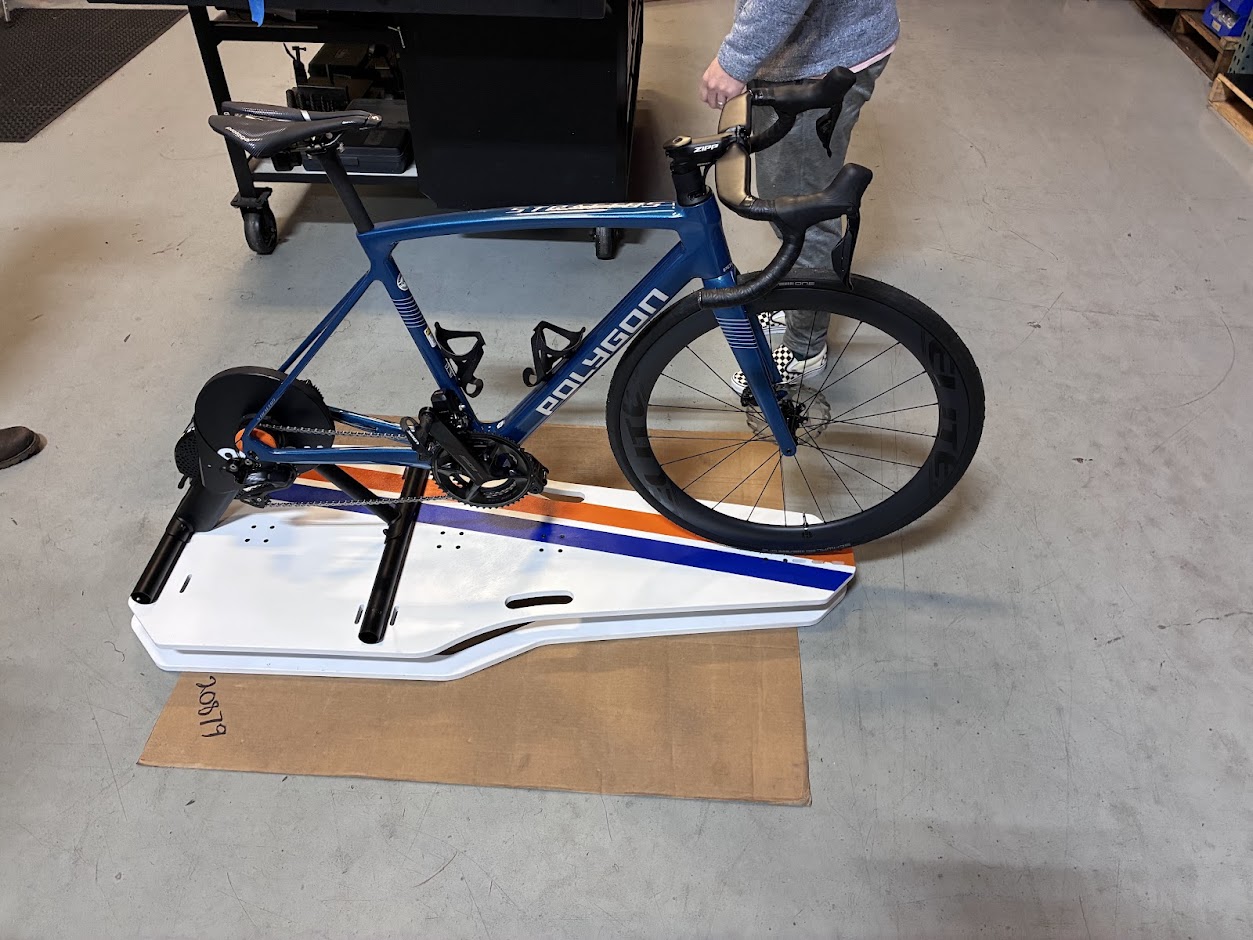
Assembly
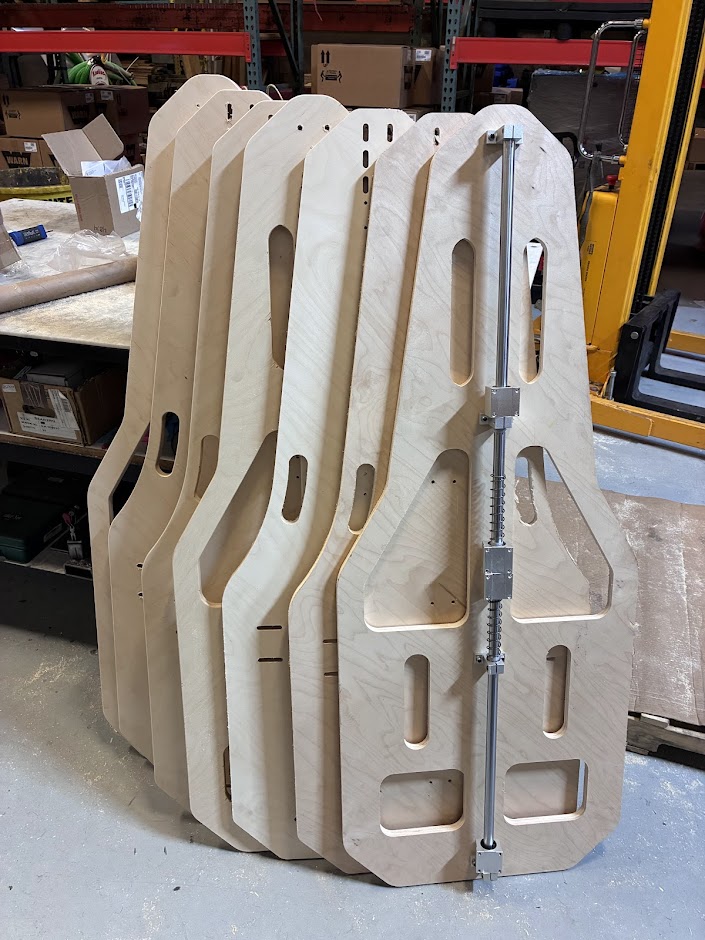
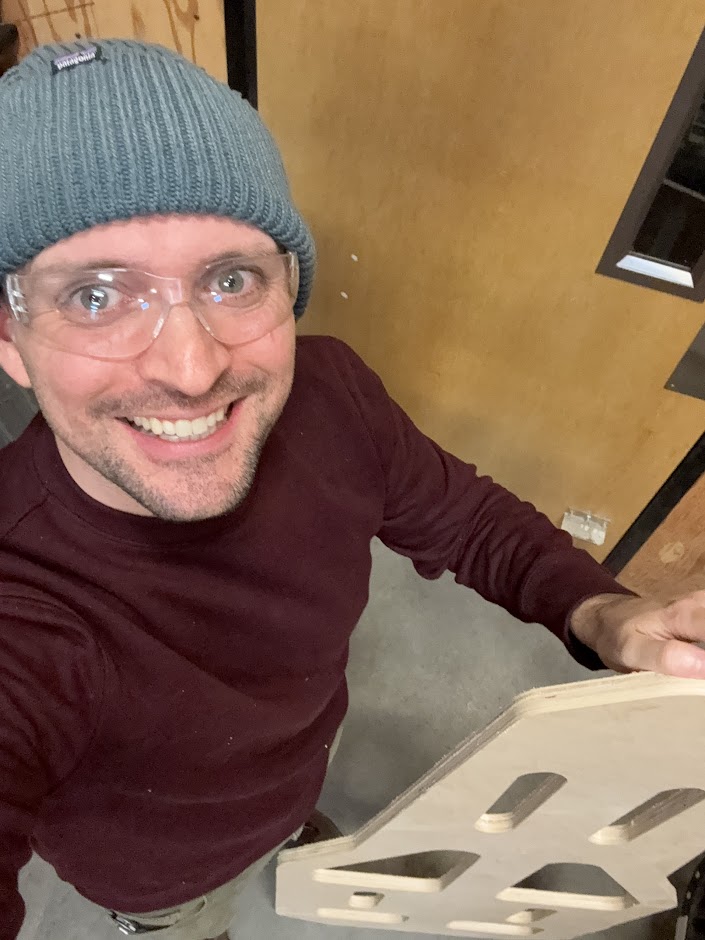
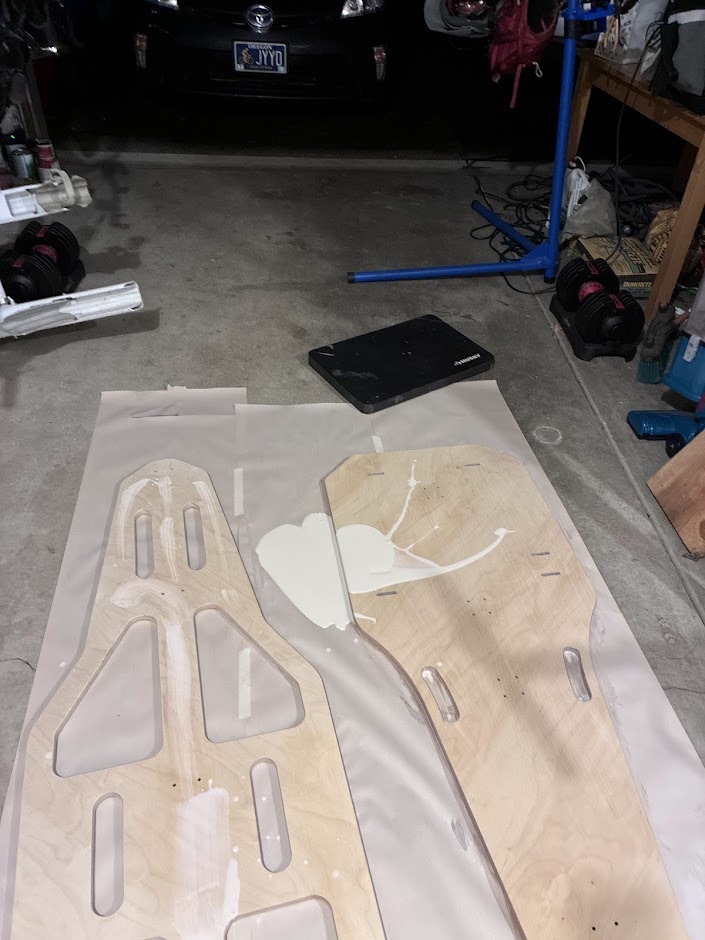
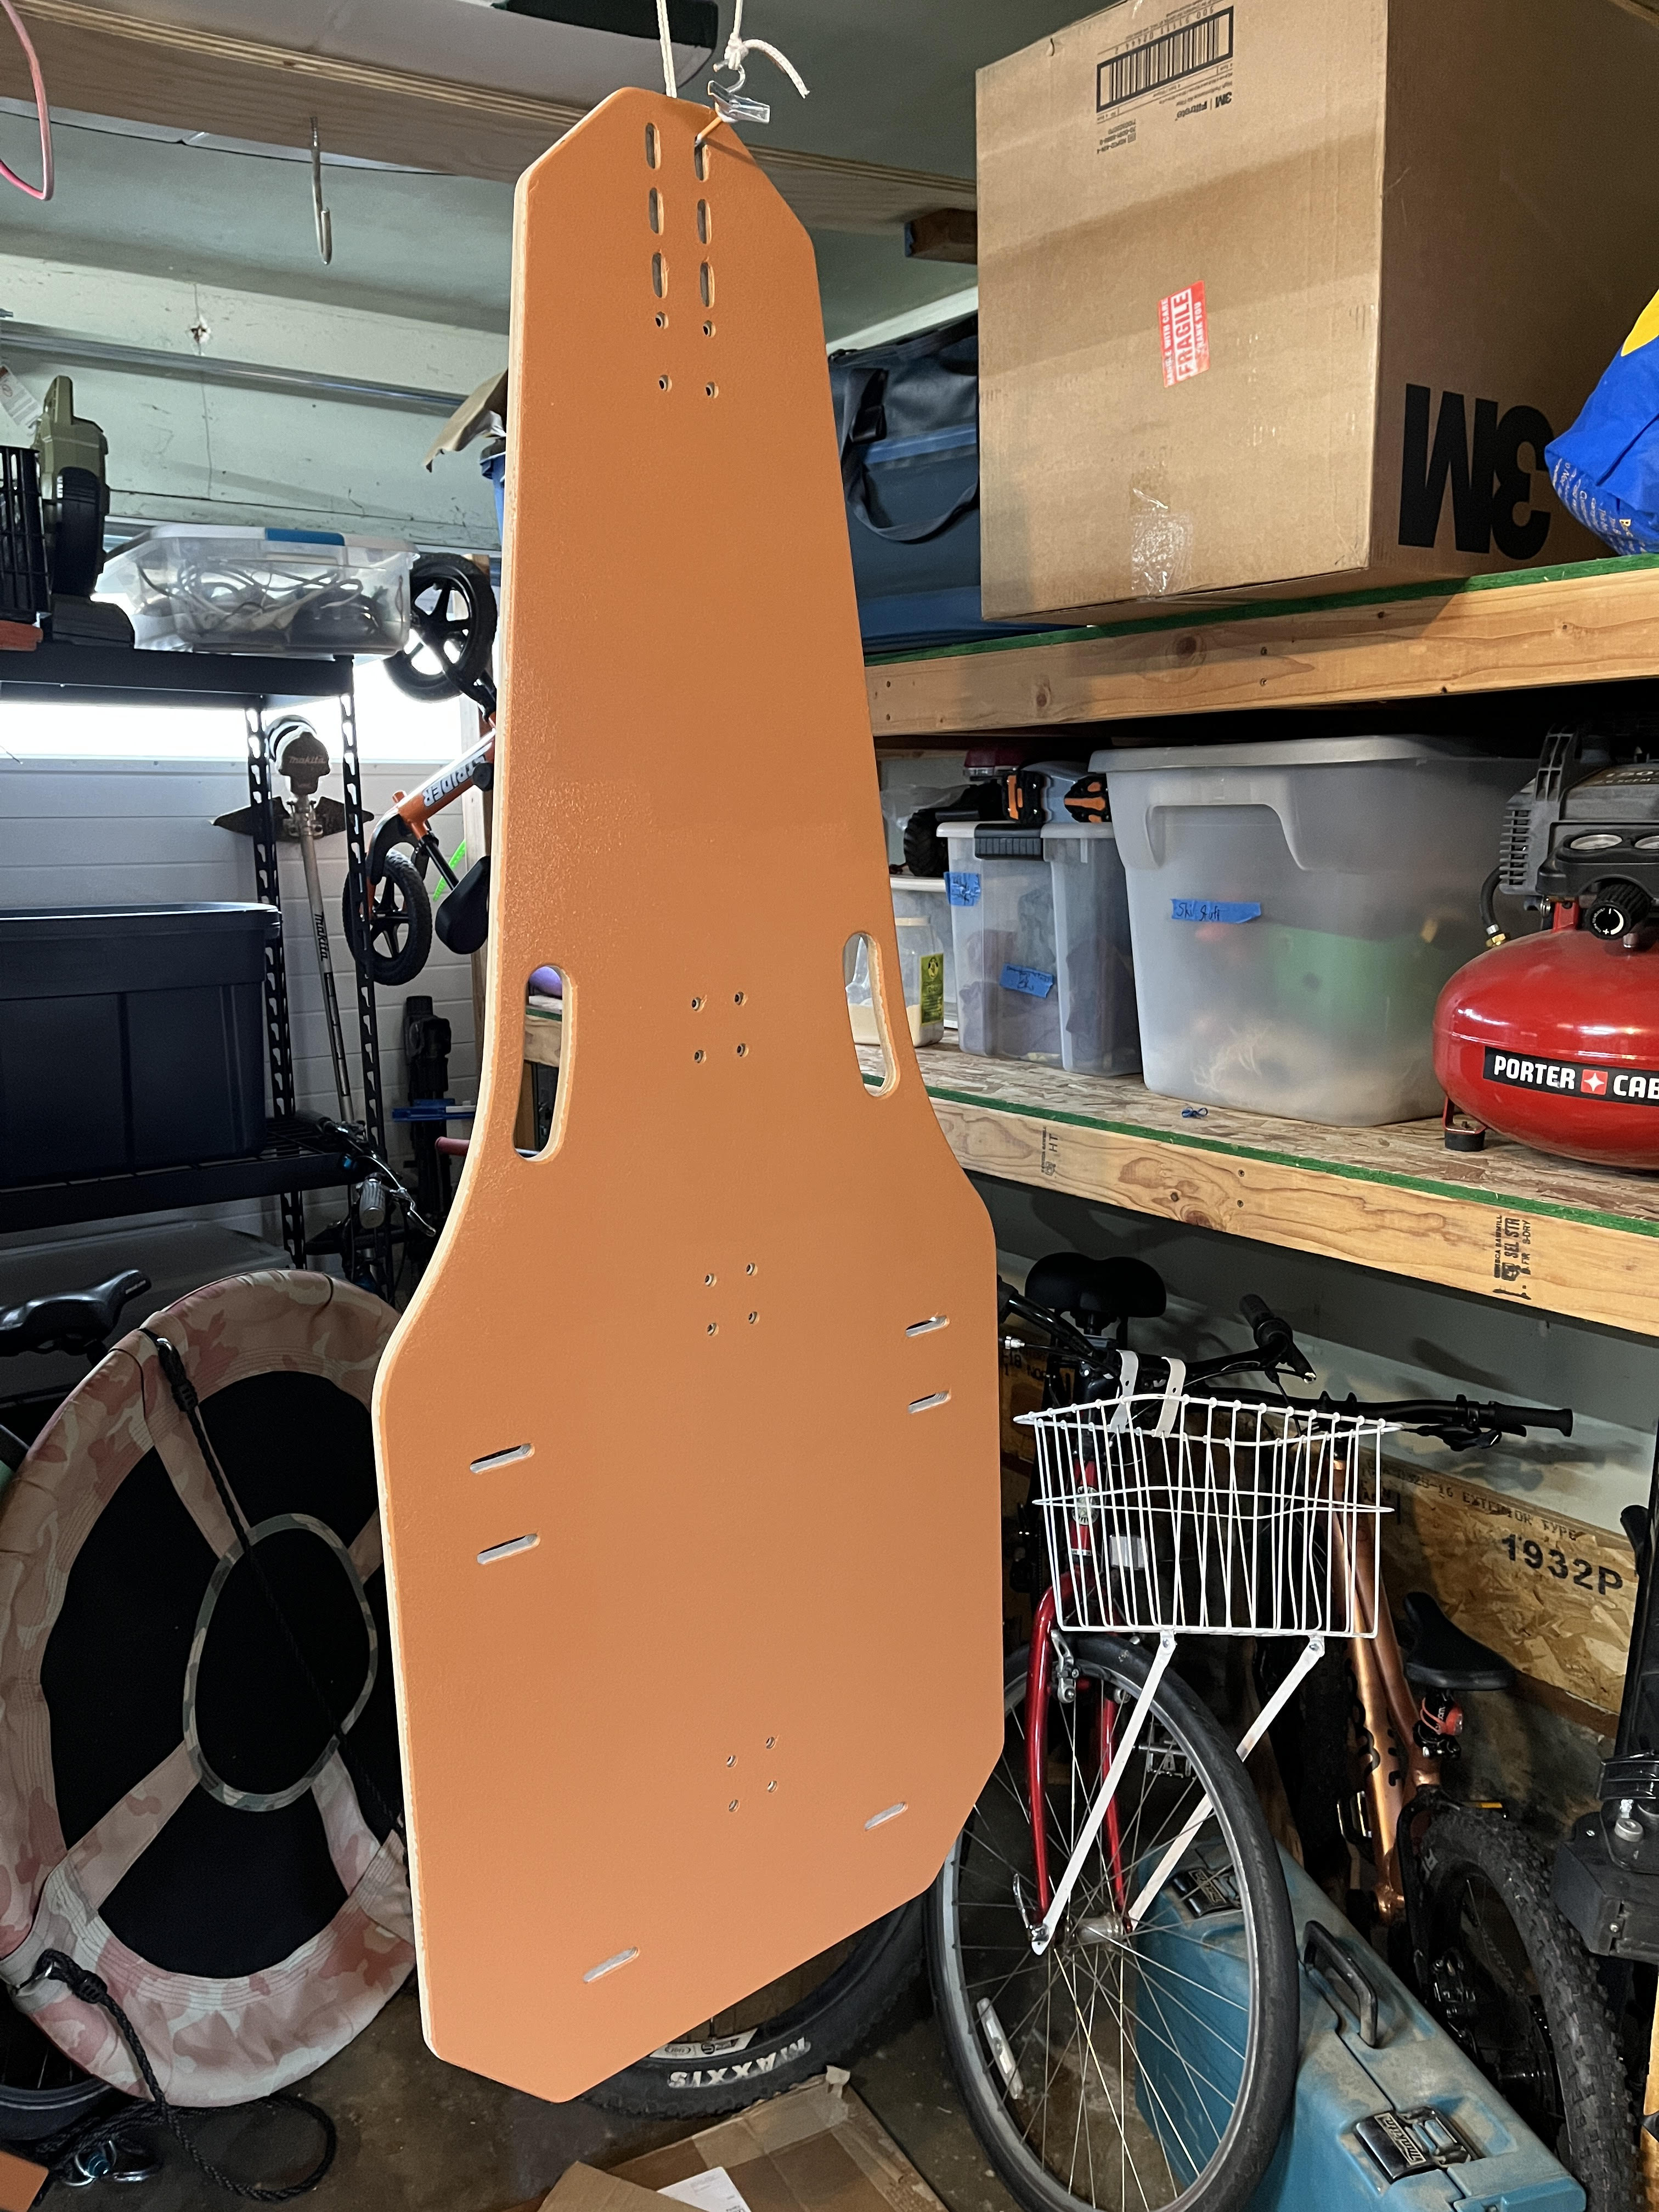
Final results
The results are in! Apparently these are fun to ride! Let's see them getting polished up!
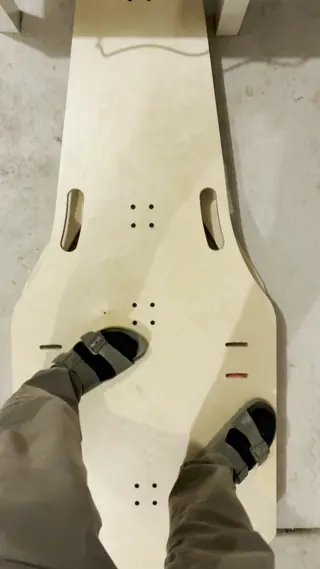 Giddy up! Someone hurt their knee though and can't ride yet!
BOM
We used Grabbs' BOM, and modified only with:
- custom plates
- CAD can be accessed publicly from OnShape: rocker-plates-kicker-core
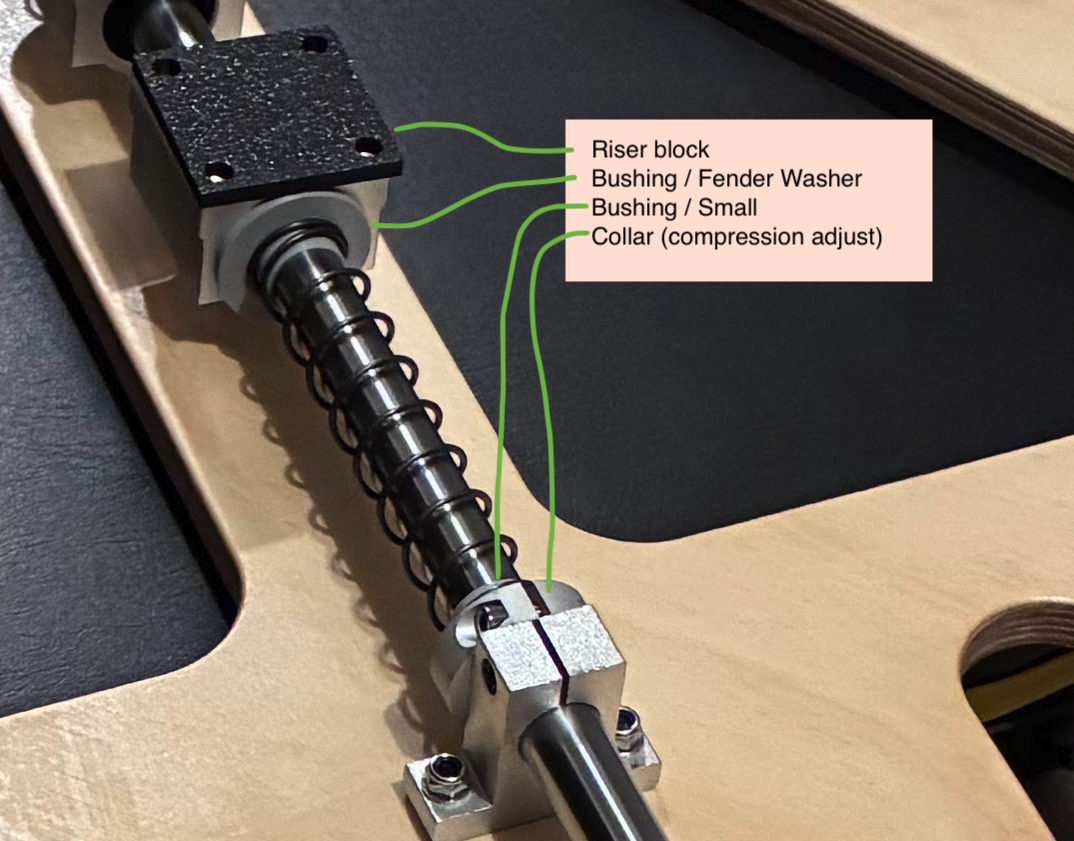
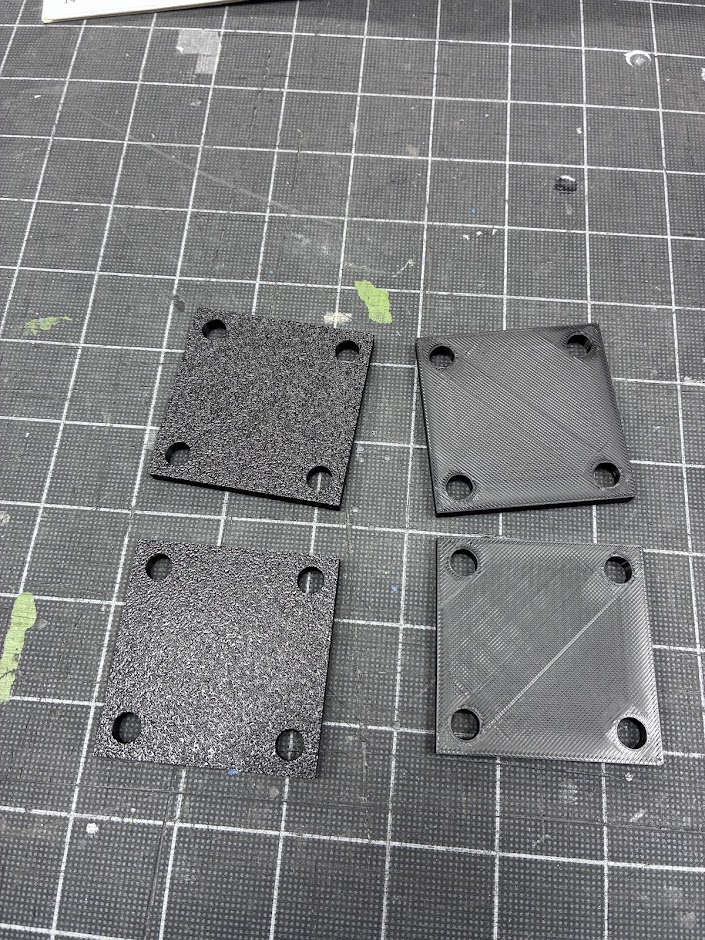
- Risers (same CAD as above)
- PETG bushings
- CAD can be accessed publicly from OnShape: rocker-plates-bushing-washer
- You will have do scale the part down a wee bit for the smaller one, or just use the big one on both sides of the spring.
- Rod collars